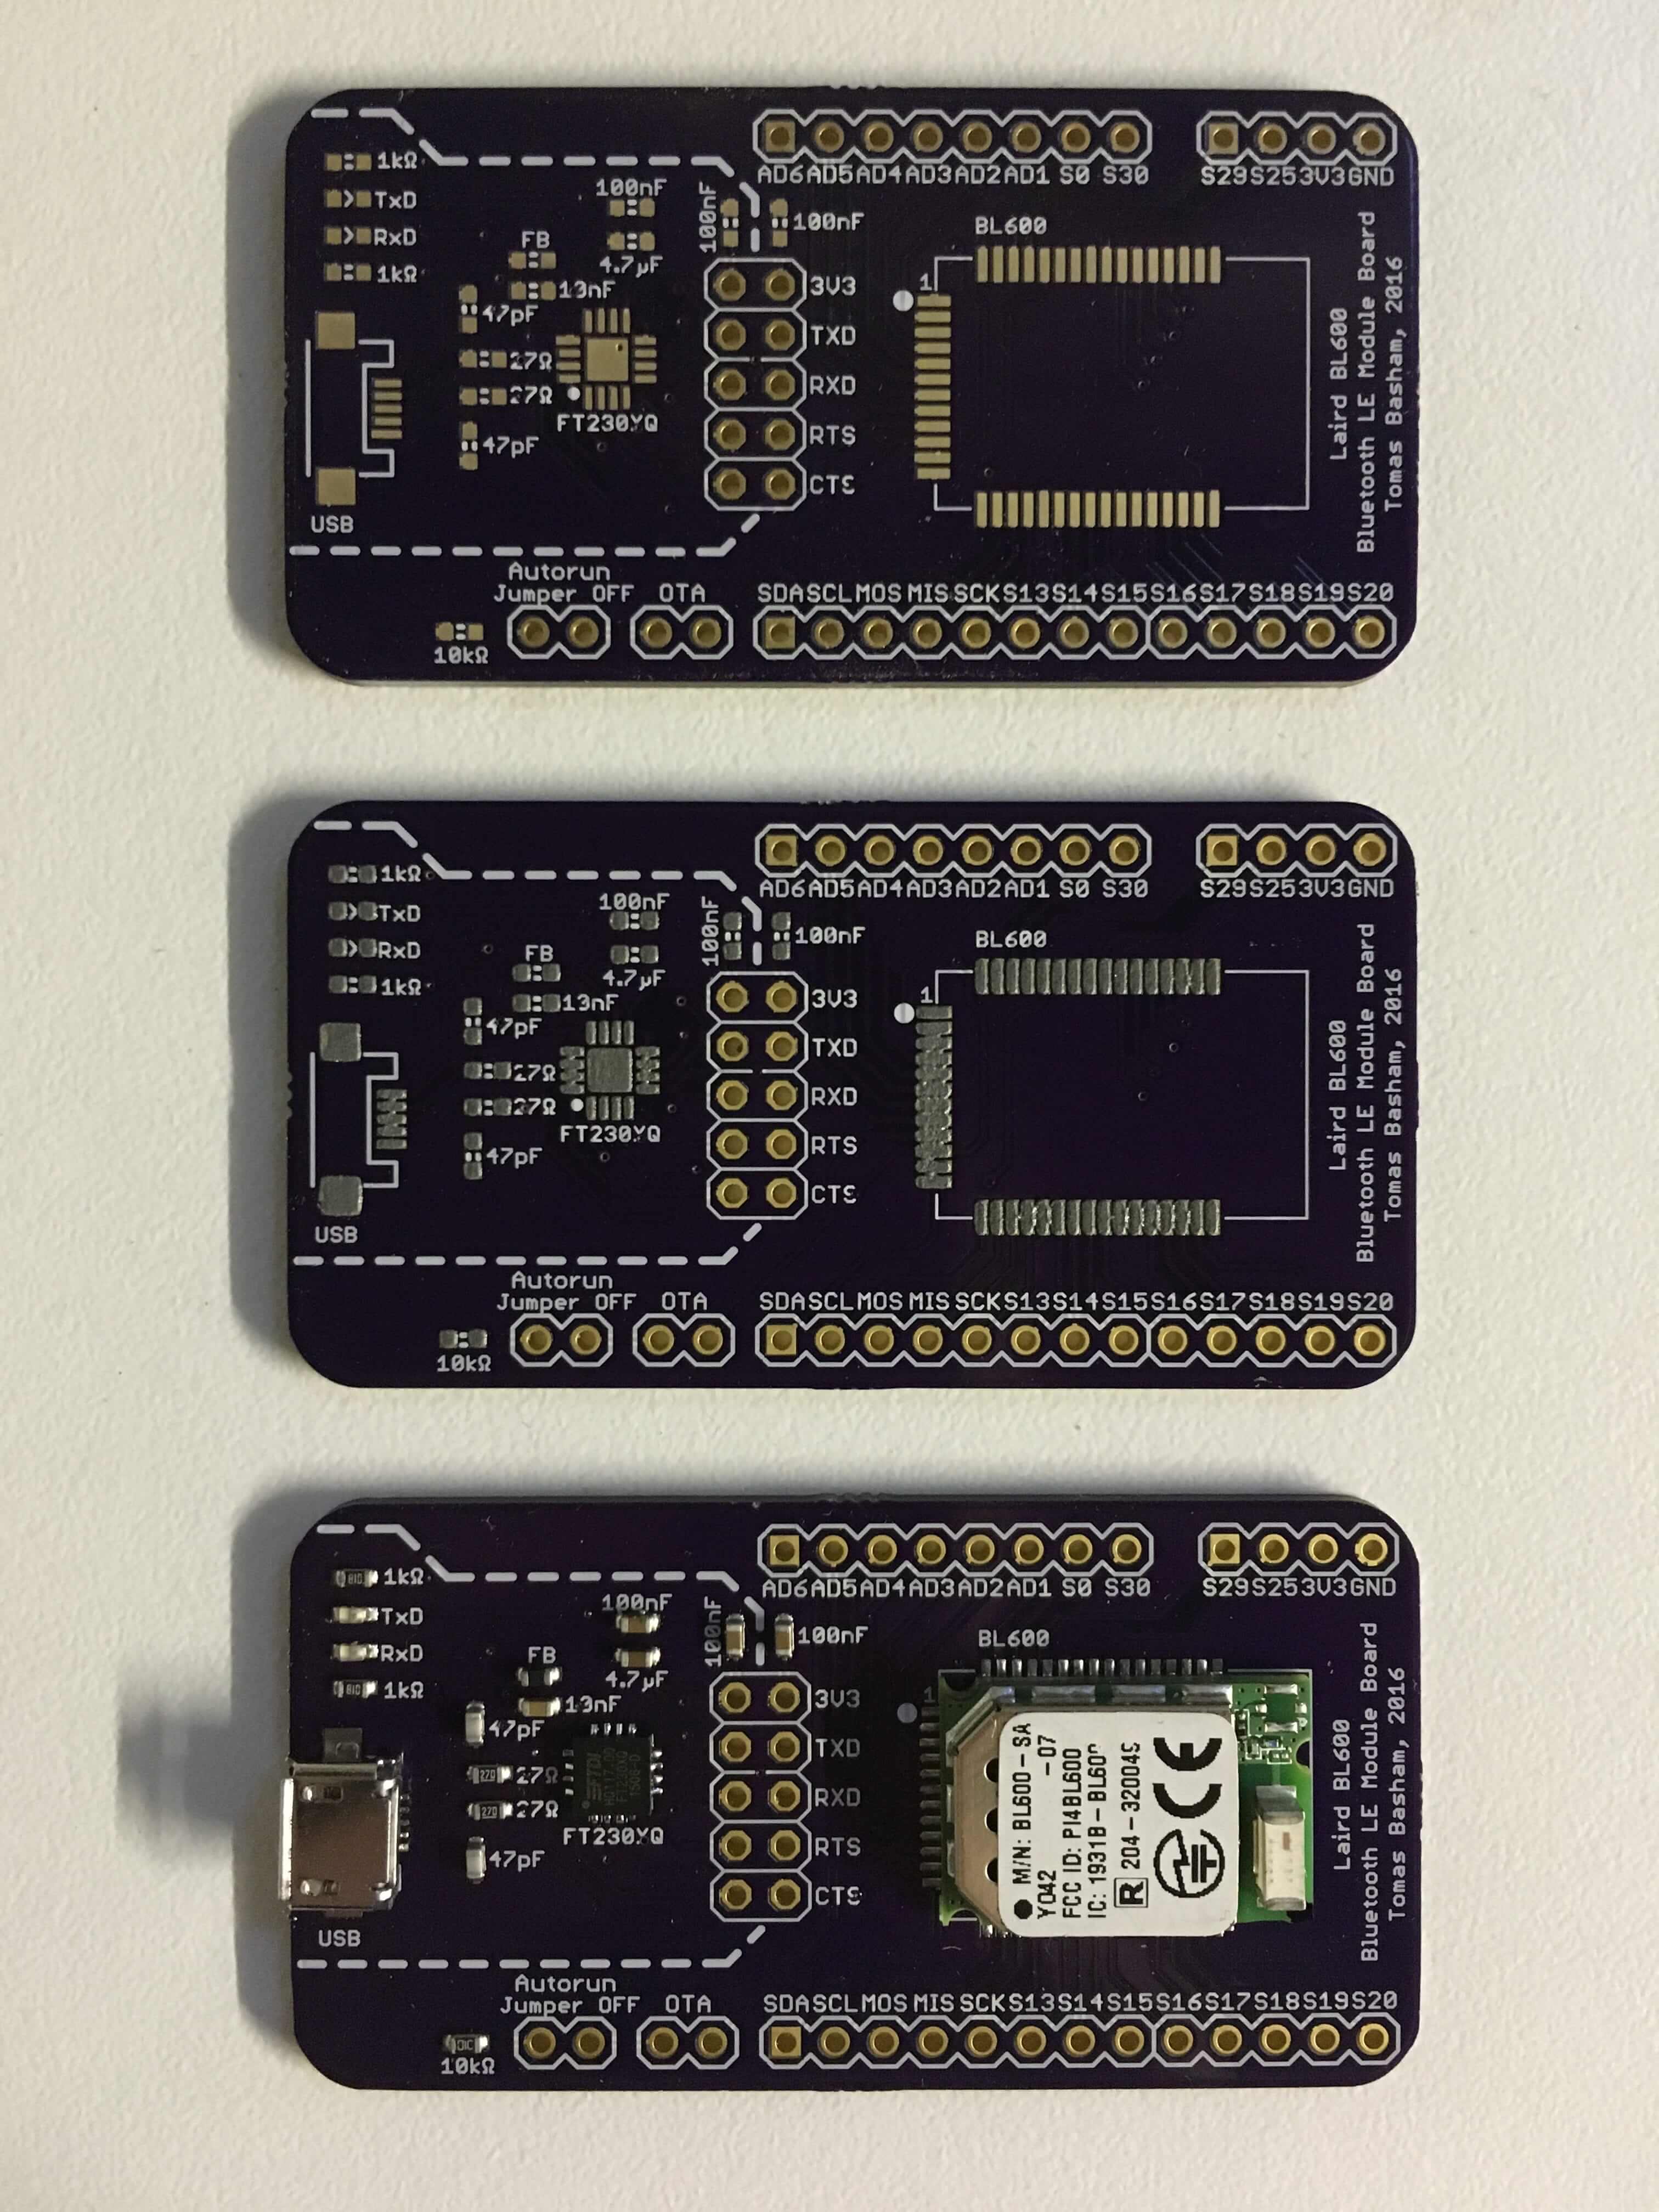
I previous covered PCB fabrication and how to apply solder paste using a stencil. Now we’re ready to secure our components.
In this article, you will learn how to perform surface mount reflow using inexpensive tools easily purchased on Amazon. From now on I assume you have ready a PCB and have applied your solder paste and components.
The Hotplate Method
The method I describe in this article to perform surface mount reflow is also (in my opinion) the most simple and a personal favourite. It involves an inexpensive electric hotplate that can be purchased for just little over £10. Typically these hotplates will not evenly heat up across the entire element, unless you are planning on spending a fortune. This is an important cavet that needs to be addressed as it is imperative that all components on your PCB are heated to roughly the same temperature simultaneously. I overcome this issue by using a small block of copper that I purchased online. Placing this on top of the hotplate and then your PCB on top of that should ensure a much more even heat distribution.
When you are content with the placement of your solder paste and components turn on the hotplate, wait and watch until everything has flowed, then wait a little longer until most of the flux has burned off. Usually a medium temperature is more than sufficient to get the paste flowing.
You’ll want to remove the PCB with tweezers or needle-nose pliers after this process, as the PCB will be very hot, and transfer it onto a piece of wood or metal so not to set it down on anything prone to burning or melting.
This process can be quick; only a couple minutes for the board to reflow completely. The downside is it requires constant attention, and unless you are doing something else to preheat the boards, you’re not putting them through anywhere near the proper temperature profile. This may result in the development of stress fractures as the board cool, or the flux won’t burn off completely. Other long term issues may crop up in higher volumes, but for one or two boards this process is fine.
Please do not use the hotplate for food after using it to reflow PCBs. Both the lead and flux are toxic. If you use this method consider writing on the hotplate indicating it’s usage.
Temperature Profile
It is important to consider the reflow temperature profile that should be followed, especially using this method of reflow since it requires careful eyeballing. Don’t worry about being too strict with this as in small batches hotplate reflowing can be rather forgiving but dont expect perfect results every time.
The reflow stages include the following steps:
- Preheat: Warm up the board from room temperature to 20°C below the melting point of your particular solder paste (likely around 150°C).
- Soak: Let it hang out below the melting temperature for a minute or two. This dries out the board and gets everything to an even temperature. If parts are hotter than others, then the solder won’t flow evenly and tombstones are likely.
- Ramp: Bring it up to around 20°C above the reflow temperature of your solder paste and let it hang out until all the solder has flowed and the flux has mostly burned off. This should take about a minute.
- Cooldown: Once it has peaked and everything has flowed and the flux has burned off, cool it down fairly rapidly but not too fast. If you hear crackles as the board cools, it’s cooling too fast and tiny stress fractures are happening. These fractures have the potential to break joints or even the components themselves. This should take about a minute.
Try to match that and you’ll be fine.